Knowledgebase & Downloads
How To Configure Autoscaling
This guide will show you how to configure autoscaling for a Virtual Server. Autoscaling allows you to automatically add RAM, CPU and Disk resources to a server based on pre-defined usage thresholds.
Notice: OnApp currently only supports autoscaling CPU priority, not cores. We do not recommend using less than 100% CPU priority on any server, as we do not support splitting cores.
Notice: OnApp currently only supports autoscaling primary disks. A server reboot is required for disk resizing, please use this feature with caution.
Notice: Autoscaling is currently only supported by Linux operating systems.
First, log into the Advanced Control Panel (OnApp). For step-by-step instructions please view our tutorial
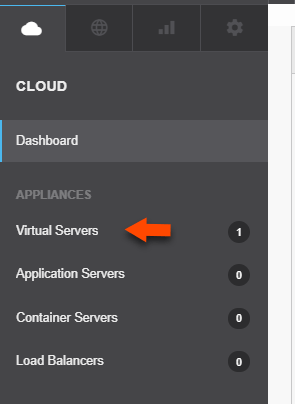
From the OnApp portal, click the Virtual Servers link to open your Virtual Servers list page
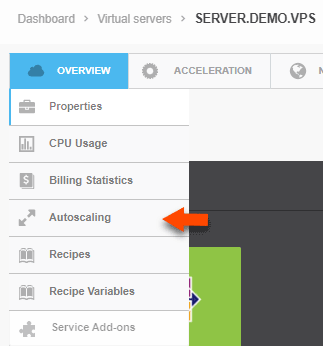
Select the server from your Virtual Servers list Open the Overview menu and click Autoscaling.
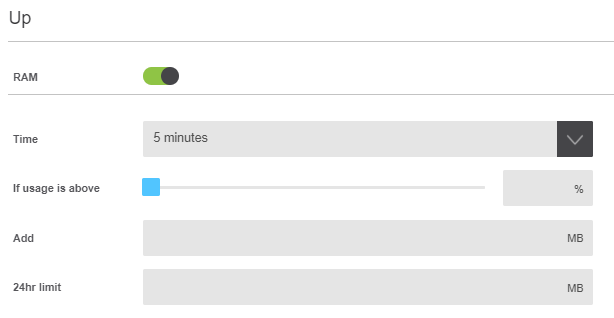
Enable each Autoscaling feature you wish to use, for both UP and DOWN autoscaling.How To Configure Autoscaling
Prerequisites
Step 1) Access the Advanced Control Panel
Step 2) Open Your Virtual Servers List
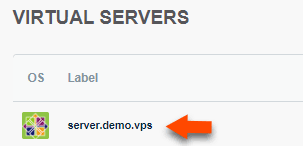
Step 3) Select the Virtual Server
Step 4) Open the Autoscaling Page
Step 5) Configure Autoscaling
Time is the amount of time over (or under) the threshold that will cause the autoscaling to trigger.
24 Hour Limit is the maximum amount that can be added in 24 hours.
When finished click the "Apply" button in the bottom right corner to apply the autoscaling changes.
Hint: As always, if you have any questions you can contact us by Support Ticket, email, or open a Live Chat from our webpage.