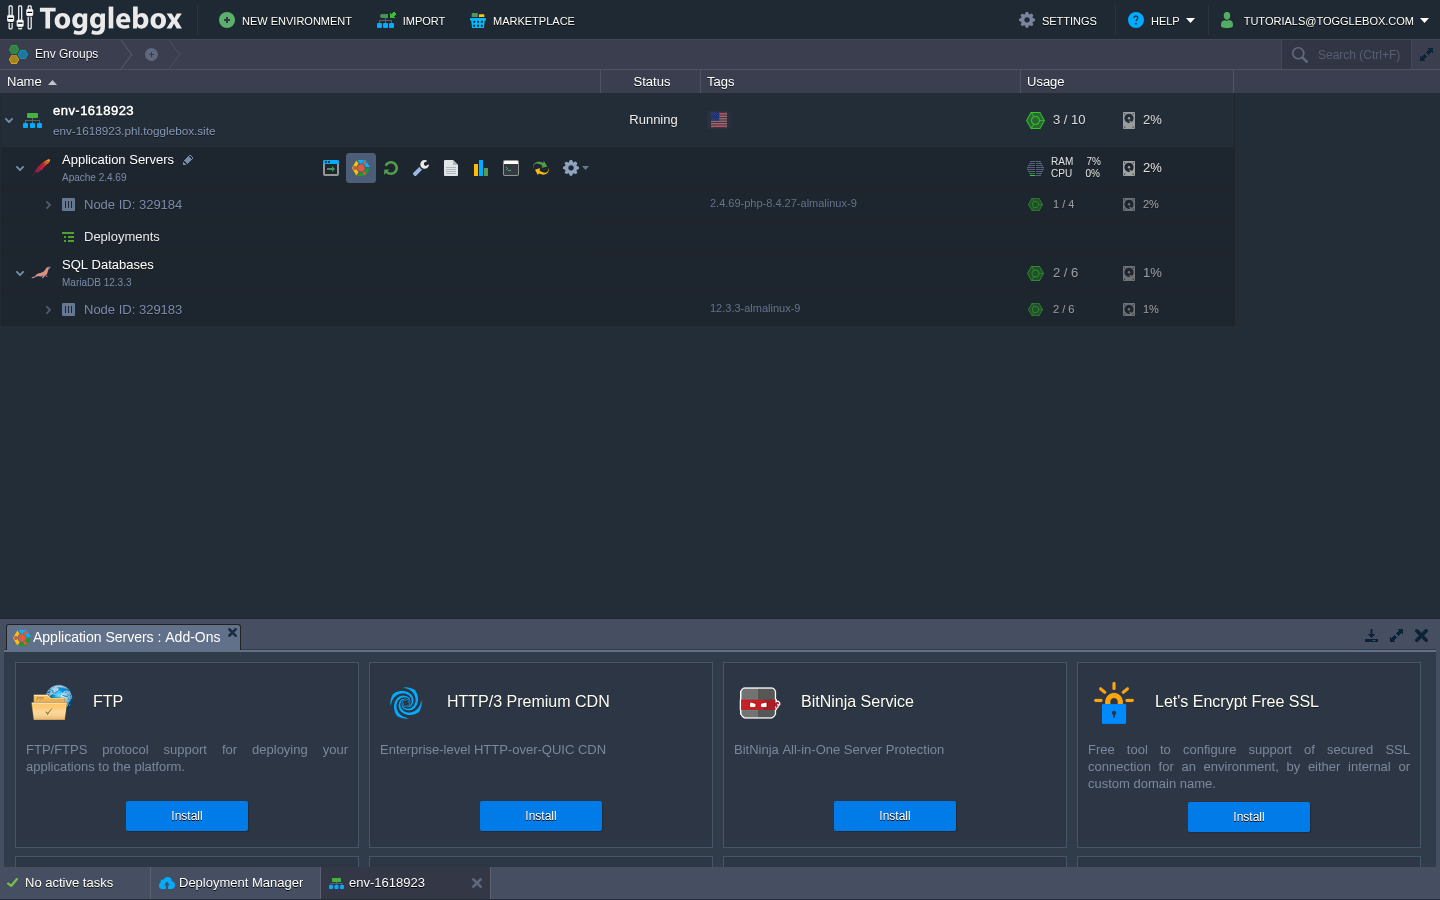
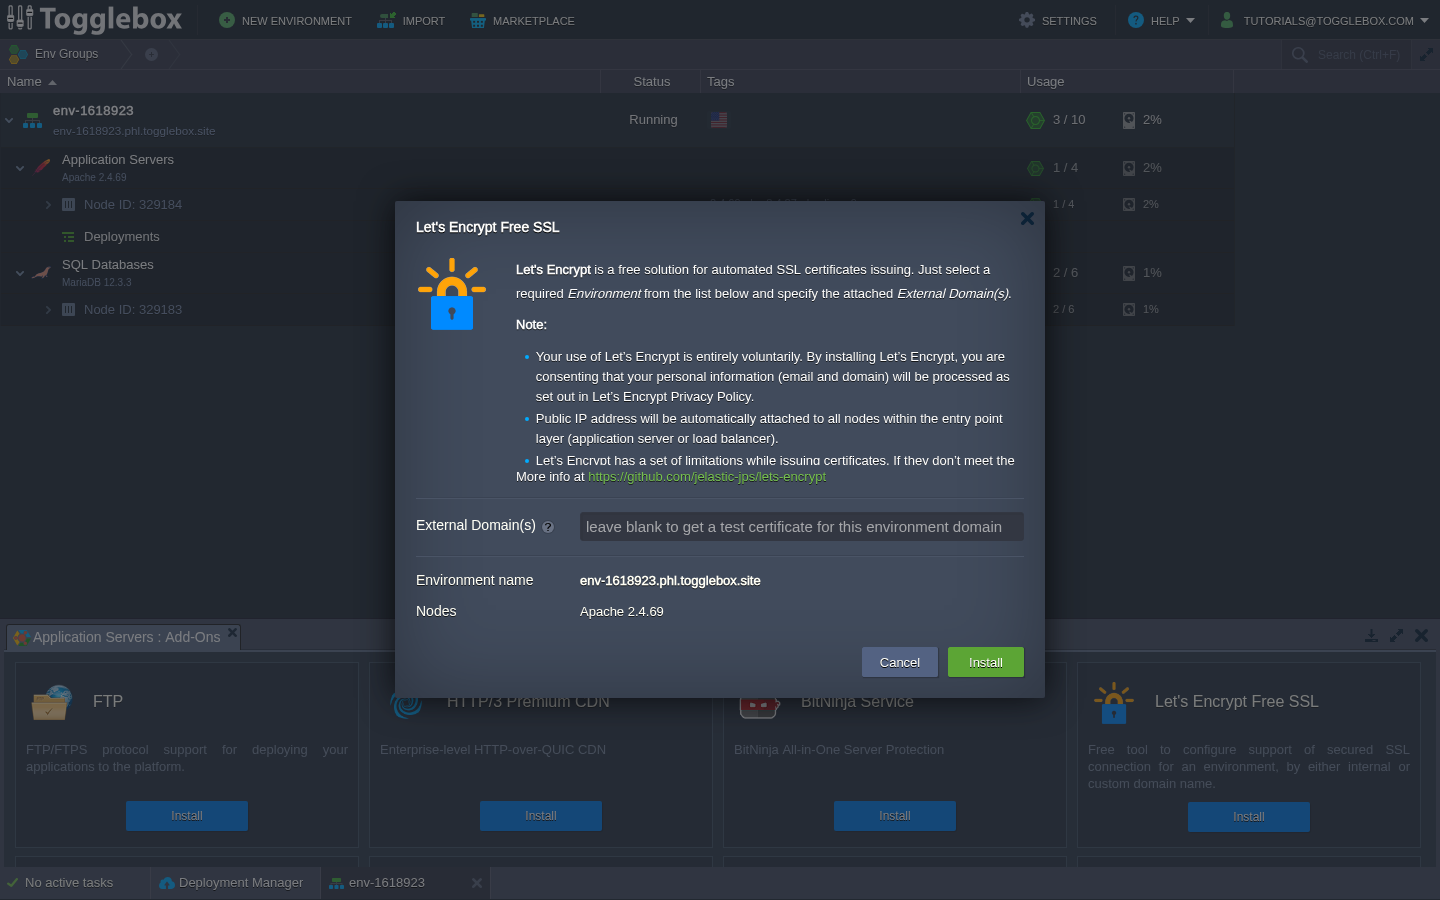
Point each custom hostname to the intended environment before requesting a certificate. List every hostname you still use, including your staging hostname.
- Sign in to App Hosting and expand the environment.
- Find the node or load-balancer layer that handles HTTPS. Open its Add-Ons and locate Let's Encrypt Free SSL.
- For an installed add-on, open Configure. Enter all hostnames the certificate must cover. Check the list before applying the configuration.
- Wait for the certificate task to finish. Check HTTPS and certificate coverage for every hostname.
- For an environment with several HTTPS endpoints, check that each node serving HTTPS has the correct certificate. Ask support to check the topology if only some requests receive it.
Adding a custom domain does not automatically preserve certificate coverage for another hostname. Keep the staging hostname in the list if you still use it.
If the add-on shows Install, it is not installed on that layer. Review its installation form first: it warns that a public IP will be attached to nodes in the entry-point layer. Check the resulting resource charges before installing.